Creating art at home doesn’t have to break the bank. Budget-friendly DIY art projects allow individuals to express their creativity while personalising their spaces without significant financial investment. From upcycling materials to utilising low-cost supplies, these projects can turn any room into a unique reflection of one’s style.
Engaging in DIY art fosters creativity and offers a satisfying sense of accomplishment. With a bit of imagination and resourcefulness, anyone can transform ordinary items into eye-catching decorations. Whether it’s painting, crafting, or decorating, each project invites innovation and personal flair.
Finding inspiration for budget-friendly art projects is easier than ever, thanks to a wealth of resources available online. These projects not only enhance living spaces but also provide an enjoyable and fulfilling way to spend time. Embracing DIY art offers the perfect opportunity to create beautiful pieces without overspending.
Fundamentals of DIY Art
Creating DIY art involves understanding the essential components that make art accessible and engaging. Selecting the right materials, incorporating personal style, and mastering colour and texture are critical to crafting budget-friendly projects.
Choosing the Right Materials
Selecting affordable materials is the first step in any DIY art project. Common choices include:
- Recycled materials: Old newspapers, cardboard, and glass can be transformed into unique pieces.
- Basic supplies: Acrylic paints, brushes, and canvas boards are easily accessible at low prices.
Artists should not shy away from experimenting with unconventional items like fabric scraps, bottle caps, or even natural elements like leaves and twigs. These materials can make stunning wall art that expresses creativity without straining the budget.
Incorporating Personal Style
Personal style sets an artist apart. Before starting a project, she should consider:
- Inspirations: Think about themes or colours that resonate personally.
- Techniques: Experiment with different techniques, such as layering or stencilling, to create unique textures.
Understanding what kind of art they wish to create is crucial. An individual’s style can be expressed through colour choice, patterns, or the overall composition. This connection to the work makes each piece remarkable and original, reflecting the artist’s personality.
Understanding Colour and Texture
Colour and texture play a significant role in DIY art. The selection of colours can evoke emotions and set the tone for a piece. Key points include:
- Colour theory: Understanding complementary and contrasting colours can enhance visual impact.
- Texture: Different materials can add depth. For instance, mixing sand with paint can create an interesting finish.
An artist can experiment with diverse techniques to achieve desired textures, like using sponges or palette knives. Balancing colour and texture effectively can transform simple materials into captivating wall art that draws attention and admiration.
Project Ideas for Every Space
Creative art projects can transform any area of the home into a personalised sanctuary. By incorporating different styles, such as abstract art and nature-inspired themes, individuals can create unique wall art that enhances their living environment.
Abstract Art Explorations
Abstract art allows for unlimited creativity, making it ideal for DIY projects. The use of vibrant colours and unconventional patterns can energise a room. To create a piece, consider using acrylics on canvas or even repurposing an old frame. Techniques like pouring paint or using palette knives can achieve dynamic textures.
For a budget-friendly option, utilise household items like sponges or even old toothbrushes for unique splatter effects. Layering different colours adds depth and interest. These pieces can be displayed individually or arranged as part of a gallery wall, making a striking visual statement.
Nature-Inspired Themes
Nature-inspired art connects indoor spaces with the outdoors, bringing tranquillity into the home. One option is to create pieces using pressed flowers or leaves, offering an organic touch. Another idea is to paint landscapes or natural scenes on canvas. This can be done by observing outdoor elements and capturing their essence with a brush.
Materials such as twigs, stones, or feathers can be incorporated into mixed media artworks, providing texture and a three-dimensional aspect. This approach not only adds character but also serves as a reminder of the beauty found in nature.
Functional Art Pieces
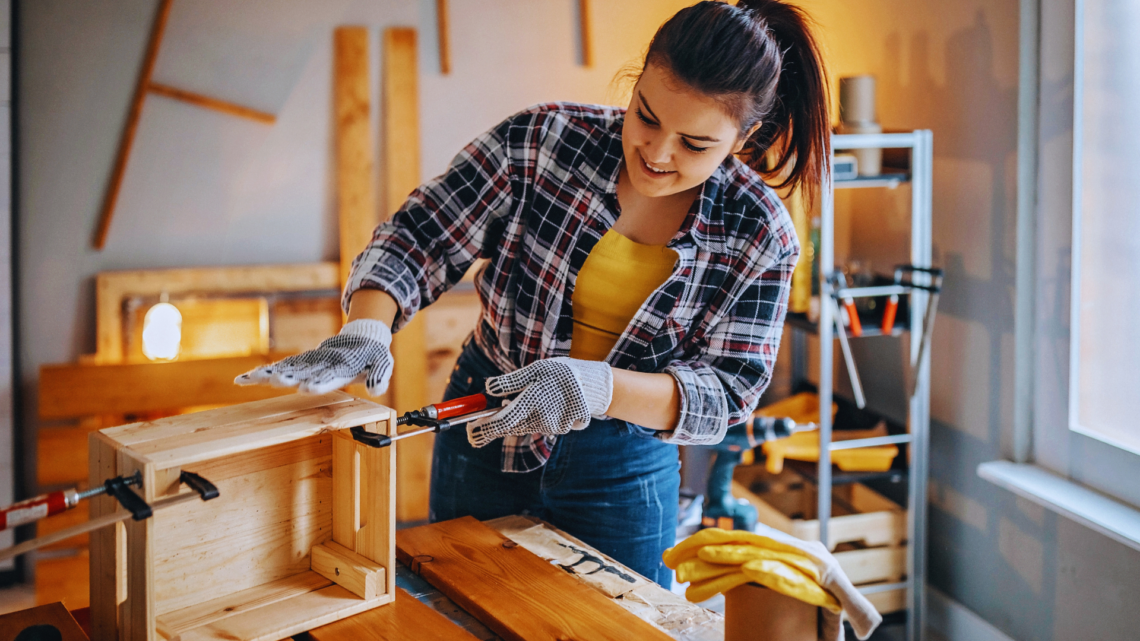
Functional art pieces serve a dual purpose, blending aesthetics with utility. This can include handmade shelving units or decorative storage boxes that act as both storage and visual interest. For example, personalised wooden crates can serve as plant holders while adding rustic charm to a space. Upcycling furniture, like transforming an old chair into a unique planter, can also be rewarding.
Additionally, DIY wall hooks painted in fun colours can brighten up an entryway while providing necessary function. The versatility of functional art allows homeowners to enjoy creative designs that serve practical needs.
Step-by-Step DIY Guides
These guides focus on creating large-scale wall art, crafting with fabric and paper, and assembling a gallery wall. Each project provides simple instructions to help achieve impressive results without a significant financial investment.
Creating Large-Scale Wall Art
To create large-scale wall art, start with an old canvas or a piece of plywood. Gather supplies like paint, brushes, and stencils. Choose a colour palette that complements the room.
- Prepare the Surface: Clean the canvas or plywood. Apply a base coat of paint and let it dry completely.
- Design the Artwork: Sketch a design or transfer a stencil onto the surface. This helps visualise the final piece.
- Paint: Use bold colours for a striking effect. Layer the paint for depth and texture. Allow each layer to dry before adding another.
This project transforms blank walls into eye-catching displays.
Crafting with Fabric and Paper
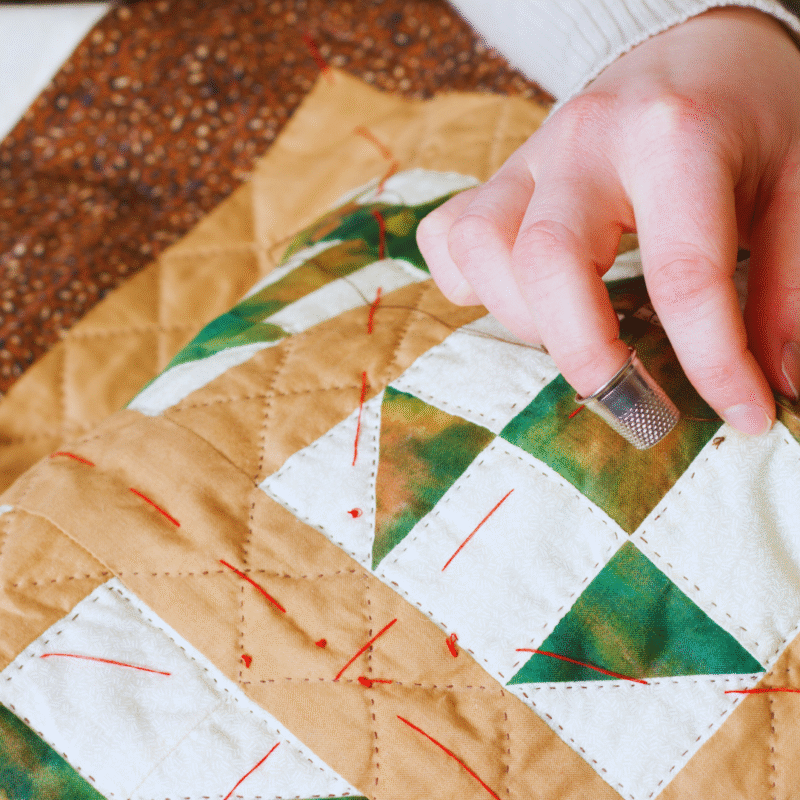
Fabric and paper crafting can produce unique decor. Gather fabric scraps, old magazines, or wrapping paper along with scissors and adhesive.
- Select Materials: Choose colours and patterns that match the desired aesthetic. Cut fabric or paper into shapes, such as squares or circles.
- Arrange: Lay out the cut pieces on a canvas or a board. Experiment with different configurations before adhering.
- Adhere: Use a glue stick or spray adhesive to attach the pieces. Smooth out air bubbles to ensure a clean finish.
This method utilises leftover materials to create personalised artwork.
Assembling a Gallery Wall
A gallery wall showcases various art pieces and photographs, adding character to any space. Begin by selecting a wall and gathering different frames and artworks.
- Choose Artwork: Mix sizes and types of frames. Include personal photos, DIY projects, and prints.
- Layout Planning: Use painter’s tape to outline where frames will hang. This provides a visual representation and helps refine the arrangement.
- Hang Frames: Start with the centrepiece. Use a level to ensure alignment, then work outwards.
A gallery wall can reflect personal style and creativity, making it an attractive feature in any home.
Finishing and Displaying Your Artwork
Final touches and presentations significantly enhance the impact of DIY art projects. This section discusses effective framing and hanging techniques, along with tips for maintaining and refreshing various art pieces.
Framing and Hanging Techniques
Framing artwork not only protects it but also enhances its visual appeal. For canvas art, consider using simple wooden frames or stretched canvas that complements the piece. Floral wall art organised in shadow boxes can create depth and intrigue.
When hanging art, use picture hooks or adhesive strips to avoid damaging walls. Displaying basket wall art or wire letter wall art can bring texture and character to any room. For a cohesive look, arrange several pieces in a gallery style, ensuring balance in size and colour.
Maintaining and Refreshing Art Pieces
Maintaining artwork ensures longevity and sustained beauty. Regularly dust pieces like dried flowers or DIY yarn wall hangings with a soft cloth to prevent buildup. Avoid direct sunlight, which can fade colours over time.
If artworks become dull, consider refreshing them by rearranging displays or adding new elements. For instance, incorporating fresh florals into existing floral wall art can rejuvenate the appearance. Regular touch-ups, such as repainting frames or fixing any damage, keep art looking fresh and vibrant.