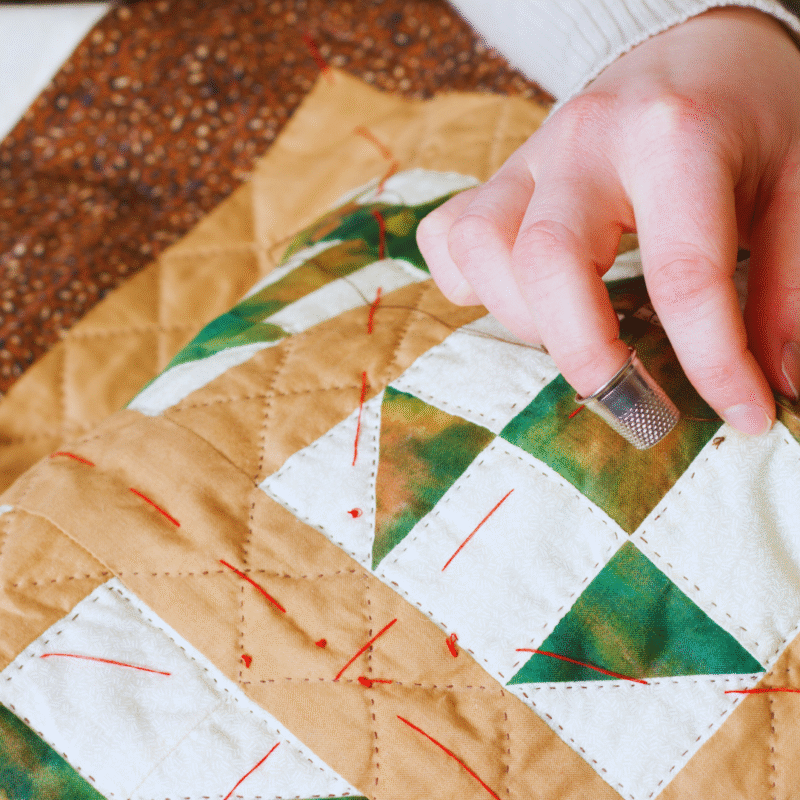

Macro photography is a powerful tool for showcasing the intricate details of handmade items. By focusing closely on texture, stitches, and fine craftsmanship, macro shots draw attention to features that are often missed by the naked eye.
The key to using macro shots to highlight handmade detail is capturing sharp, well-lit close-ups that reveal the uniqueness and skill behind each piece. These images allow viewers to appreciate the quality and effort involved in handmade work.
Such photos also create an emotional connection by emphasising the personal touch and care invested in the creation. This technique helps artisans and sellers communicate the value of their products more effectively.
Essential Macro Photography Equipment
The right tools are crucial for capturing fine, handmade details in macro photography. Selecting lenses and accessories that enhance magnification, stability, and sharpness can dramatically improve close-up shots.
Choosing the Right Macro Lens
A specialised macro lens is fundamental for detailed close-up photography. Lenses like the Sony FE 90mm f/2.8 Macro or Canon EF 100mm f/2.8L IS USM provide 1:1 magnification, essential for life-size reproduction of small objects.
Longer focal lengths, such as 90mm or 100mm, allow working at a comfortable distance while maintaining sharpness. These lenses also typically offer image stabilisation or vibration reduction, reducing blur from handheld shaking.
Choosing a lens with a fast aperture, like f/2.8, also helps in low light and creates a shallow depth of field for isolating details. Quality optics ensure minimal distortion and excellent colour fidelity, vital in rendering texture and colour in handmade items.
Using Extension Tubes for Magnification
Extension tubes are hollow spacers inserted between the camera body and lens to reduce the minimum focusing distance. They allow standard lenses to focus closer, increasing magnification without heavy investment in specialised macro lenses.
They work well with macro lenses or prime lenses, providing an affordable boosting option. Extension tubes don’t contain optical elements, so image quality remains largely intact when used properly.
However, they reduce the amount of light reaching the sensor, which may require adjustments in exposure settings. Their compatibility depends on lens and camera models, so checking for electronic contacts and manual focus operation is essential.
Advantages of a Sturdy Tripod
A solid tripod is a must-have for macro photography as it stabilises the camera during slow shutter speeds and prevents motion blur. Stability is critical due to the tiny depth of field and high magnification.
Tripods with adjustable legs and a geared centre column enable precise positioning and framing of handmade details. Models designed for macro work often include a horizontal arm or an adjustable base for overhead shots.
Materials like carbon fibre offer strength and reduced vibration without adding weight. A tripod also allows for consistent framing over multiple shots when merging focus stacks, improving detail sharpness across the final image.
Remote Shutter Releases and Camera Stability
Remote shutter releases prevent camera shake caused by pressing the shutter button. Wired or wireless remotes help maintain perfect sharpness in close-up photography.
Options range from simple cable releases to smartphone apps that trigger the camera remotely. Some remotes offer intervalometer functions, useful for time-lapse or focus stacking projects.
Using a remote shutter release paired with a tripod significantly increases stability, reducing micro-vibrations invisible to the naked eye. This is especially important when shooting at slower shutter speeds or tiny apertures for extensive depth of field.
Camera Settings for Highlighting Handmade Detail
Precise camera settings are essential for capturing the fine textures and intricate features of handmade objects. Balancing depth of field, image quality, and sharpness ensures the detail stands out clearly in macro shots.
Aperture Settings for Depth of Field
Aperture controls depth of field, which is critical in macro photography due to the shallow focus area at high magnifications. A wide aperture (low f-number, e.g., f/2.8 to f/5.6) produces a shallow depth of field, isolating the subject by blurring the background. This works well for emphasising specific details.
However, very wide apertures risk losing sharpness across the handmade object’s surface. Using a narrow aperture (high f-number, e.g., f/11 to f/16) increases depth of field, keeping more of the detail in focus. This is beneficial when the subject has texture or layers that need equal clarity. Be mindful that very narrow apertures can cause diffraction, reducing overall sharpness.
Optimising ISO for Image Quality
ISO controls the sensor’s sensitivity to light. Keeping ISO low, typically around ISO 100 or 200, minimises image noise and retains fine detail in macro shots. Higher ISO settings introduce digital grain, which obscures subtle features and reduces detail clarity.
In low light, using a tripod and longer shutter speeds is preferable to increasing ISO. This maintains image quality while allowing for sufficient exposure. Modern cameras handle noise better, but maintaining a low ISO remains standard practice for highlighting the precision of handmade items.
Manual Focus for Precision
Autofocus often struggles with close-up subjects due to minimal depth of field and complex textures. Manual focus allows the photographer to control the exact focal point, ensuring the intended detail is sharp.
Using live view and magnification assists in fine-tuning focus on delicate areas. Slow, deliberate adjustments prevent focus shifts that blur key features. For macro work, manual focus yields greater consistency and precision, especially on uneven or small handmade details.
Focus Stacking for Maximum Sharpness
Focus stacking involves taking multiple shots at different focus distances and combining them into one sharply focused image. This technique overcomes the shallow depth of field limitation in macro photography.
It is ideal for handmade items with three-dimensional detail, where a single aperture setting cannot capture all surfaces sharply. Focus stacking software merges the sharpest parts of each frame, enhancing overall clarity and texture.
Using stable support like a tripod and consistent lighting is crucial for successful stacking results. This method maximises sharpness without sacrificing the shallow depth of field effect.
Lighting Techniques for Macro Shots
Effective lighting reveals the true craftsmanship of handmade objects. It emphasises texture, colour, and depth without overpowering the delicate details. Adjusting light sources and modifiers is crucial to balance brightness and shadows, creating a clear and engaging image.
Natural Light and Golden Hour
Natural light offers softness and authenticity, ideal for macro shots. Shooting during the golden hour, just after sunrise or before sunset, provides warm, diffused light that enhances textures without harsh shadows.
Photographers should position the subject to catch side or backlighting, which adds depth and dimension. Direct midday sun often creates strong contrasts and blown highlights, so finding shade or using reflectors can improve lighting quality. Overcast days can also provide evenly distributed light, perfect for highlighting fine details on handmade items.
Creative Use of Artificial Light
Artificial light allows precise control over the illumination in macro photography. External flashes or continuous LED panels can be adjusted to produce consistent lighting that emphasises intricate features.
Using a low power setting on external flashes reduces glare and avoids overexposure. LED panels, often adjustable in brightness and colour temperature, help simulate natural conditions. Positioning lights at angles rather than head-on prevents flat lighting, enhancing three-dimensionality. Combining multiple light sources can further sculpt the subject and isolate specific handcrafted details.
Diffusers, Ring Lights, and LED Panels
Diffusers soften harsh light by scattering it evenly, which is key to avoiding stark highlights and deep shadows in close-up shots. A simple diffuser can be a translucent fabric or a purpose-built plastic panel placed between the light source and the subject.
Ring lights offer uniform, shadow-free illumination around the lens, ideal for evenly lighting symmetrical handmade items. However, they can create flat images if not paired with side lighting. LED panels provide versatile, continuous light and often have adjustable intensity and colour settings, enabling fine-tuning of the scene’s mood and clarity.
Controlling Reflections and Shadows
Reflections and shadows can either enhance or distract from the handmade details. Careful positioning of lights and use of polarising filters reduces unwanted glare, especially on glossy or metallic surfaces.
Small reflectors help bounce light into shadow areas to reveal hidden textures. Shadows, when controlled, add depth and contrast but should not obscure intricate features. Adjusting angles and distances between light sources and the subject is essential for managing shadow length and intensity, ensuring the craftsmanship remains visible and well defined.
Composition Techniques to Enhance Handmade Details
Careful composition highlights the intricate nature of handmade work. The placement of elements within the frame, focus on key details, and control of technical aspects all contribute to sharper, more impactful macro shots.
Utilising the Rule of Thirds
The rule of thirds divides the frame into a 3×3 grid, guiding where to place key subjects. Positioning the handmade detail along these lines or their intersections helps create balanced and engaging images.
It avoids central placement, which can make images look static or less dynamic. For example, placing a stitched pattern or carved feature off-centre draws the viewer’s eye naturally across the image.
This technique adds visual interest without distracting from the handcrafted subject. It also supports layering of background elements without overwhelming the tiny details.
Effective Close-Up Composition
Close-up composition requires selective framing to remove distractions and focus tightly on the handmade element. A shallow depth of field helps blur the background, ensuring attention remains on the subject.
Photographers should consider framing smaller areas, such as a portion of embroidery or brush strokes, to showcase texture and craftsmanship.
Using diagonal lines, curves, or repeating patterns within the composition can add depth and guide the viewer’s gaze through the image. Maintaining adequate spacing around the subject avoids a cramped feel and lets the details breathe.
Emphasising Tiny Details
Macro shots are perfect for capturing the smallest handmade features, such as thread textures or wood grain. Emphasising these requires controlling light and focus to reveal surface variations and imperfections.
Side lighting or diffused natural light brings out dimensionality by casting soft shadows. Focus stacking—combining several images at different focus points—ensures sharpness across uneven surfaces.
Head-on focus is vital, but can be combined with slight angle shifts to expose unseen facets. Highlighting these tiny details makes the craftsmanship apparent and invites closer inspection.
Reducing Camera Shake and Enhancing Sharpness
Camera shake significantly reduces clarity in macro photography, especially with shallow depth of field. Using a tripod stabilises the camera and maintains consistent framing during shooting.
Remote shutters or timers prevent unintended movement when pressing the shutter button. Using faster shutter speeds helps freeze slight movements, but should be balanced with sufficient lighting.
Image stabilisation in lenses or cameras supports sharper shots but cannot replace mechanical support entirely. Manual focus allows precise adjustments, crucial for capturing the finest handmade intricacies.